
This post was created by the incredibly talented, Medina Grillo, from Grillo Designs. Medina shares "unique, creative and easy to do DIY designs for the home". Today she is sharing a tutorial for the DIY Tool Bench she recently made for her son. Enjoy!

My husband and I are quite hands on when it comes to decorating our home, and it's certainly rubbing off on my three year old. He loves to pretend that he is drilling holes or putting together furniture just like his dad! We bought him a little toolset a while back, and I decided to take it a step further and make him a tool bench to store all his DIY bits and bobs. Buying one was out of the question...because well, what's the point of buying something when you can just make it and have so much fun doing it !
My first thought was to convert an old cabinet into a tool bench. Although I hadn't seen many tool bench makeovers before, I had seen quite a few DIY play kitchens up-cycled from cabinets so I knew couldn't be that hard surely! ;)
Here are some of my inspiration pictures from Pinterest:


Here's the cabinet I eventually sourced off eBay for 10 pounds (what we call a bargain here in the UK). It was a little battered and old with a few knocks and holes but I fell in love with it! It opened up at the top for internal storage as well as having two shelves underneath! It was great and perfect for the makeover.

I gave the cabinet a light sanding with sand paper and dusted off. I also removed all of the old antique knobs. They wouldn't have fit the makeover I had in mind so they had to go!
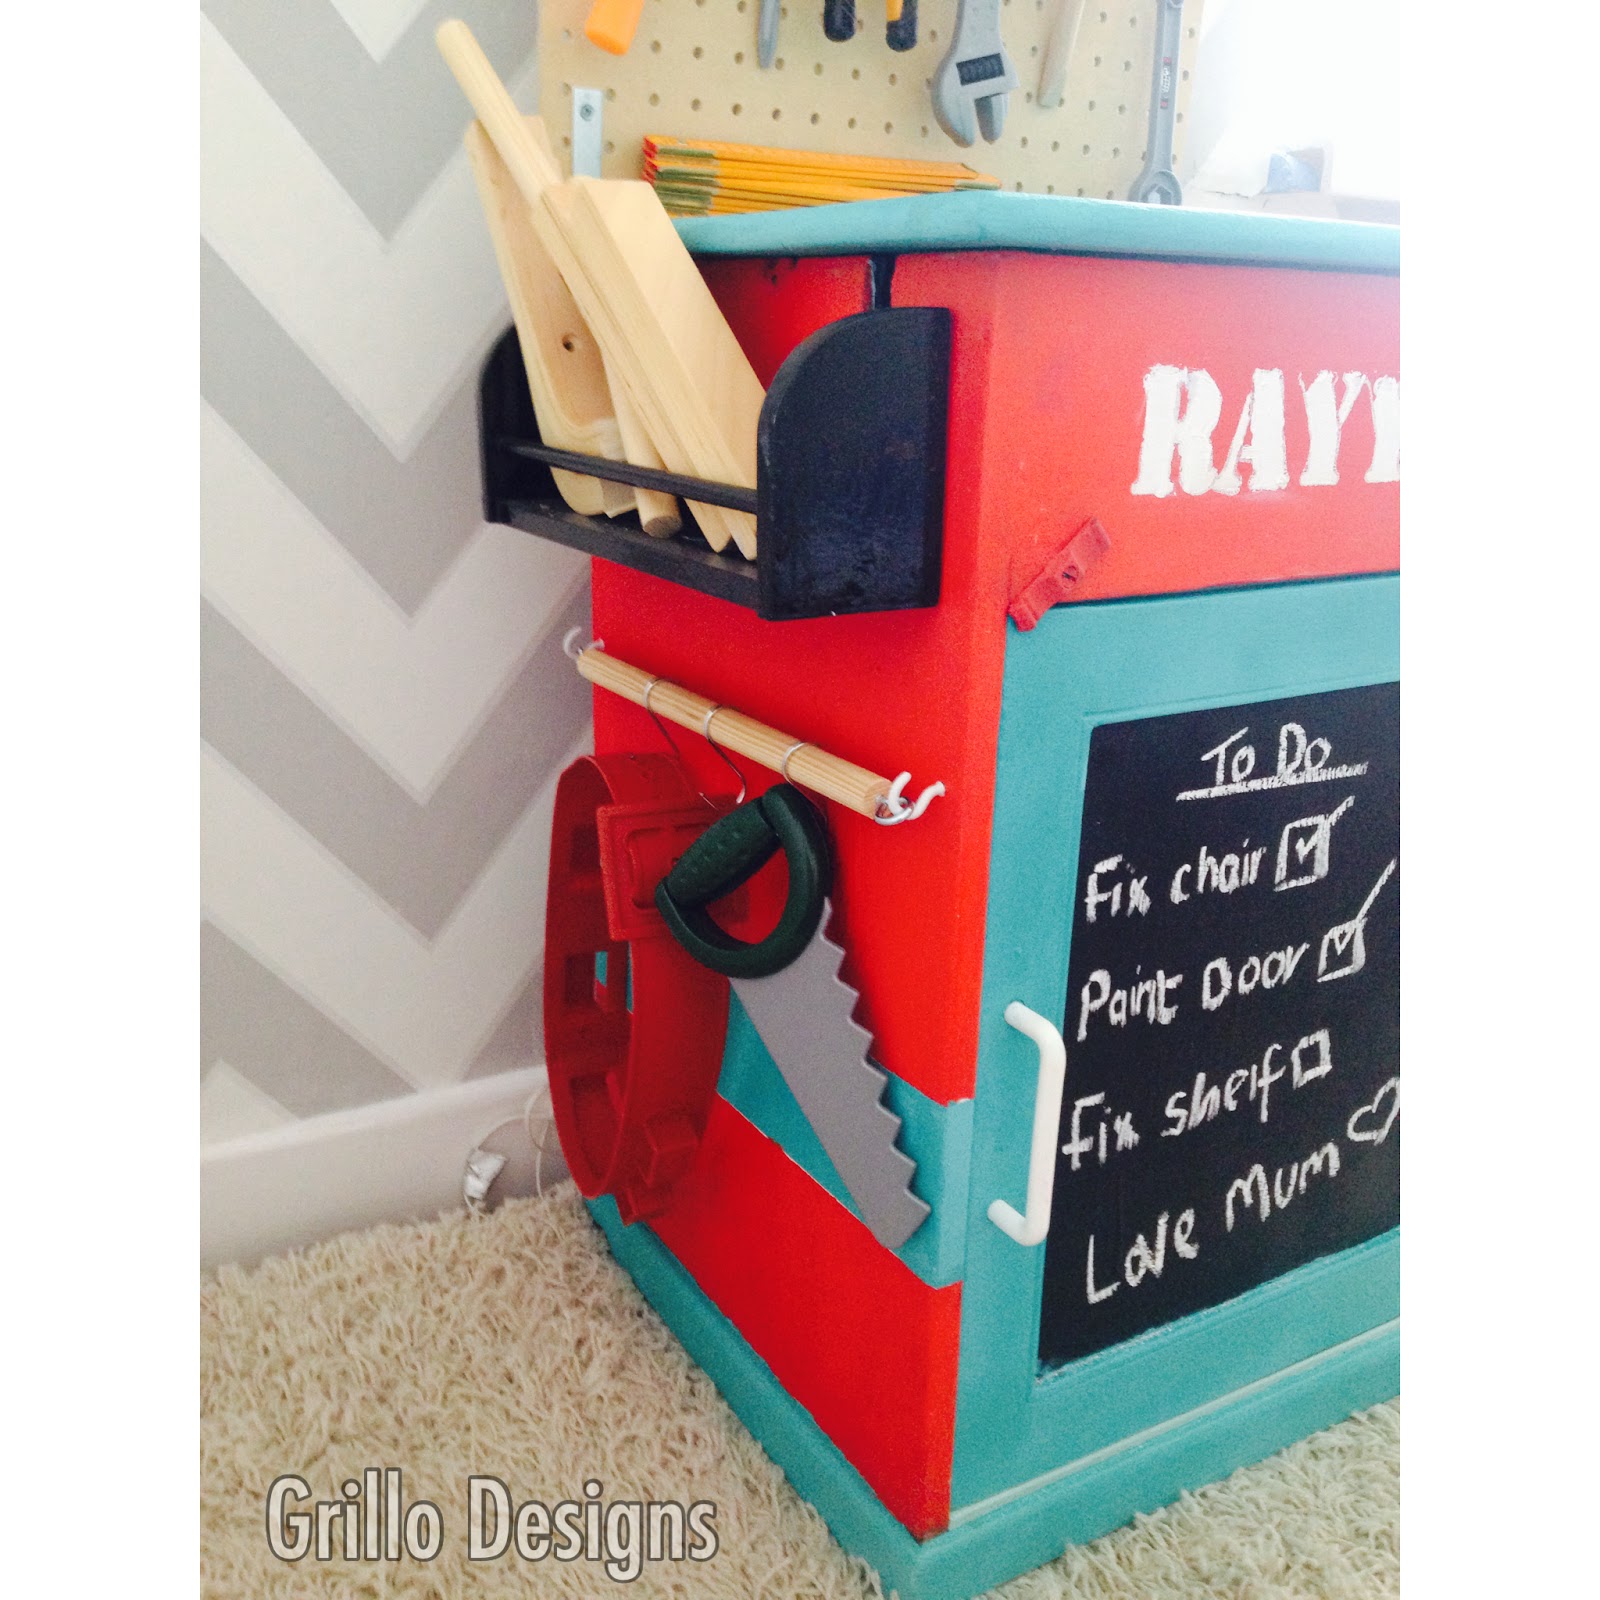
Once it was all dry, I then used a customised plastic stencil that I had also bought of eBay, to paint my son's name. I used a white acrylic paint for this and a thin paintbrush.I also added in a chalkboard element (I love my chalkboards) on the cabinet doors. I thought I could use it to list all the things my son needed to do around the house (can't beat a good to do list!)I then sprayed the whole cabinet with two coats of varnish (yes I'm a I'm a little lazy and I'm not a huge fan of painting so spray ons are my go to all the time!)Next: Attaching the 17mm hole peg board to cabinet This is where my hubby comes in. He sawed the 3.5mm peg board to the desired length ( as it was slightly bigger than needed at 600 mm x 600mm) He used L shaped brackets to attach the board to the cabinet.Now that the basic frame was completed, I then proceeded to add little bits and bobs to make the tool bench more appealing.- peg hooks: for his tools- plastic tubs: for his screws etc- an old spice rack: for wood storage- a dowel bar with hook: for his tool belt- a wire basket: to store his drill- a clip on IKEA light- CAUTION sign- old measuring rulerApart from the IKEA light and the peg hooks which I had to buy off eBay (my second favourite 'go to place' after IKEA) everything else I added was things I had lying around the house not in use anymore... So yes very frugal! Frugal is always good.Medina Grillo***FINAL PRODUCT***Inside the lid:Inside the cabinet:Want to see more DIY projects like this?Follow Grillo Designs on FACEBOOK, INSTAGRAM & PINTEREST


Wow, that's awesome! SO clever. I suppose you could probably do the same to make a little kitchen, do you think?
ReplyDeleteAbsolutely Tegan! There are so many DIY Kitchen for Kids tutorials on Pinterest! I know my son will absolutely LOVE one of these Tool benches - I'm thinking it will make a great Christmas present :)
DeleteLove this idea! Very creative!
DeleteThank you @MyBoredToddler
DeleteThis is ADORABLE! Totally going to be a feature this week on #ToddlerFunFriday! I love, love, love this!
ReplyDeleteThank you Ali - and WOW! Thank you so much for the feature on #ToddlerFunFriday. I am working on some more Toddler posts to share! Love the link up!
DeleteLove this! And sure my son would too! Thanks for sharing on the #BlogFair. Just catching up after a bit of a holiday:) Hope you can visit again this week.
ReplyDelete